Showing posts with label Confetti. Show all posts

Friday, September 20, 2013

Confetti Piece Finished


I finished my confetti piece this week and am really happy with the results. I wrote about this earlier asking for suggestions as to how I might attach the small pieces on fabric as opposed to batting.

The solution I came up with was to apply Misty Fuse to the front of the fabric and lay the pieces on top. I then covered with parchment paper to press. After this was completed I covered with tulle. I used different color tulle over some of the flower areas and a green tulle over the entire piece.

I felt the the green tulle helped push the flowers into the background and that was what I wanted.


I fussy cut the flower shapes and placed them over the quilted background. I then quilted the flowers.


I have been using Steam A Steam light for one of my classes.  I found out a while back that they had changed manufactures and were putting out a similar new improved SAS.  Not Good!

I decided that I was going to try the produce on the flowers in this piece before I purchased a lot of the product for my Fabricating Faces class. This photo shows the problem that I had with the product. The one on the left shows the paper coming off in spots leaving paper and taking the sticky off in other places.  The piece on the top right shows where some sticky was left and other spots where it was totally removed.  The one on the bottom right all the sticky came off. All the paper was very difficult to remove. Don't yet know what I will use for my class.  I need something that has a sticky backing after it is ironed onto the fabric. I'm going to have to do a bit of experimenting with this one.  To get the pieces that worked I just ironed Misty Fuse to the back and cut out. This is my preferred fusible but I haven't quite figured out how to make it work for my other class. Any suggestions?

I'm also looking for a name for this piece. I know there is a great one out there somewhere. Would love to have suggestions.

This post is linked to www.ninamariesayre.blogspot.com

Thursday, August 29, 2013

Working on the Caterpillar

I've had a fairly productive week in the studio so far. I took a day out yesterday to drive to Greenville to meet friends for lunch and a fun afternoon catching up.

I began the construction of the foreground for the confetti quilt that I have been working on for the past week. After choosing the fabric for the body I fused it to the back of the same fabric . I did this for two reasons. If some of the back happened to show I wanted it to be the same as the front. The extra fabric also gave me some stabilization for the thread painting that you will see later.  In this photo I have fussy cut and fused the black spots to the caterpillar.
Here you see that I have added the yellow spots and added some thread painting. I'm not sure but I think I would paint the spots next time. They were extremely time consuming and I covered most of the fabric with thread anyway.


Her you see the process of thread painting. After I finished with the thread painting I decided that I needed to add some watercolor pencil to get better depth.


The caterpillar after it has been cut out. I will add a little more thread when I applique it to the background. There is more to come but I am closing up shop today.


We have family coming for the Labor Day Weekend and I am headed to Charlotte next week for a lecture and two-day workshop. The portrait to the left is a sample that I've been working on as I give a demo for the class. I decided to finish it and start another one for the upcoming demo.

This beautiful young lady is one of my granddaughters. I have added the finished portrait below and the only difference you will see is the catch-light in the eyes.


What a difference that little detail makes.

Hoping to blog tomorrow about and upcoming exhibit at the Pickens Museum of Art.


Friday, August 23, 2013

A Solution for Confetti


I was finally able to get back in the studio on Wed. I had thought of many solutions to my problem and I thank those who commented.  All the solutions you came up with might work.

I live a good ways from a quilt shop and the fabric shops within and hours drive did not have BoNash.  It is on my list for the GA Quilt show next month.

I love Misty Fuse and use it for a lot of my projects.  That is really the first solution I thought of but had wanted to leave a little of the background showing and wasn't sure what kind of tacky/sticky problem I would cause if I did that.
 I decided that I wouldn't know unless I tried.  I adhered Misty Fuse to the front of my fabric and started placing the small pieces of fabric.

I laid my background fabric on an ironing pad that I made for my cutting table. I then used parchment paper to iron as I went. Obviously there were tiny bits that did not stick so I just moved them around until I found available misty fuse for it to adhere too. 

I traced the pattern for the foreground image on tracing paper and laid it where I wanted the image to go. I wanted to keep that part of the background clean as I didn't want a lot of pieces under my image.   A word of caution, use parchment paper for this next time. Ask me how I know?  I was able to strip the paper off but it was not fun.
After I had all the pieces in place and fused down I played with tulle. I looked in my stash of tulle and found maroon, dark green, black, red and yellow. I wanted to try all of these to see what different effects I would get.

I really liked the dark green better for the over-all effect. However, I decided that I wanted to put different colors over some of the flowers to see what kind of change that made. This photo has nothing over the bottom yellow blossom.


This photo shows the blossom with maroon trimmed in a circle and laid over the bloom.

I proceeded with that process over some images but not over others.


This photo shows the entire background covered in green tulle and various colors of tulle over some of the flowers.

I chose a backing fabric laid my batting over it and had my husband help me pick up the front to lay over the batting for the quilt sandwich.

I laid my applique sheet over the whole piece and very carefully added heat.  Tulle does not like a hot iron. I hoped that there was enough Misty Fuse not covered to catch the tulle.  There was in some places but not enough in others.  I then pinned the three pieces together.

This photo was made on my design wall and so far the majority of the bits of fabric are holding. I will free motion this with Poly Mono thread before I go further.  Stay tuned.


This post is linked to www.ninamariesayre.blogspot.com


Saturday, August 17, 2013

A Week of Rethinking, Recouperation and a New Beginning

I had a Focus meeting this week. I have belonged to this art quilting group for a very long time but have missed so many meetings for the past year. This was the first time in months that I was able to attend.  I will have photos of the meeting later.  Diana Pickens is a member of Focus and an accomplished quilter. I took my Sunburst quilt that I blogged about last week and she gave me so options that might help the warping that this piece is experiencing.  The first think I have to do is de-stitch, this is becoming a favorite non-word for me recently, the center of the sunflower.  I have decided that I am so frustrated with this piece that I have to put it away for a while.  I have several road trips coming up and plan to take it with me to de-stitch during the ride.

 I have become rather infatuated recently with the method called confetti.  I have only seen photos of quilts done in this technique but have no idea how to proceed. Here we go again.

I have a photograph that I took years ago in AL of a caterpillar that was used on the back-flap of  the SC magazine Sandlapper. I have always loved this photograph and wanted to create a piece of fiber art using this image.

I recently finished a piece titled The Stripper.  It was in response to challenge from my HiFiber art group.


The Stripper

The final version.
After I finished this piece I sent a copy to my son who is an Entomologist and he informed me that the caterpillar in this photo was not a Monarch but a Spice Swallowtail. So to pretend that I knew what I was doing I changed the caterpillar to the correct likeness. Shown above.

I still wanted to create a piece using this caterpillar so I am beginning a new piece using the confetti technique. I used my rotary cutter to cut lots and lots of little pieces, confetti, and placed them into plastic bags. I then posterized my color image so that I would see blobs of color and give me an idea of where to place the confetti.


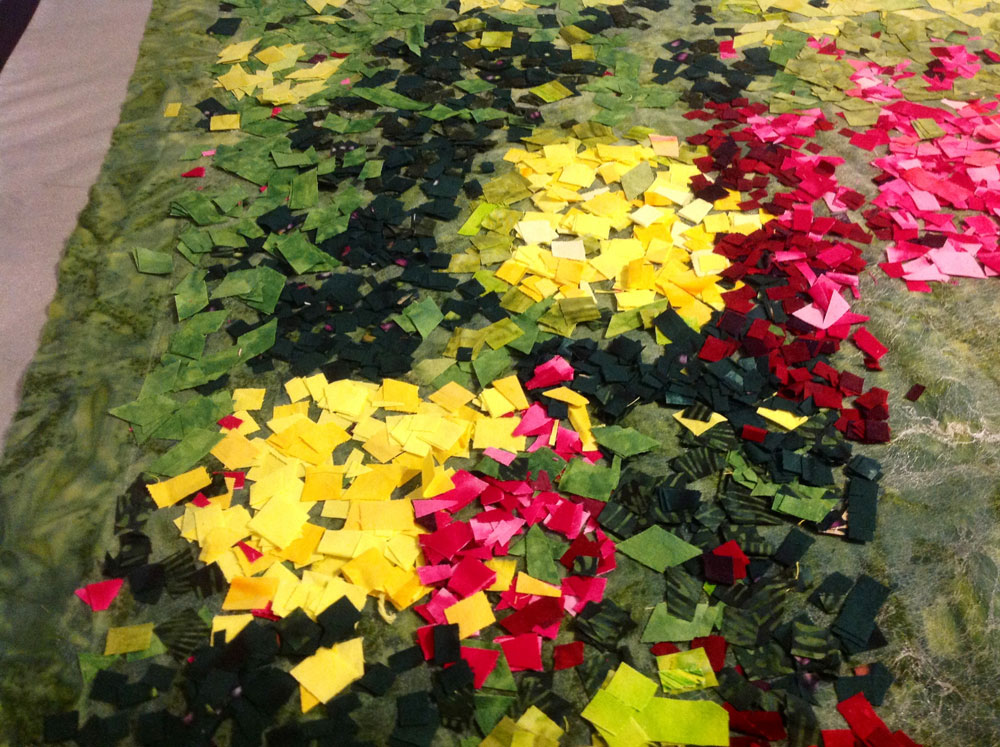
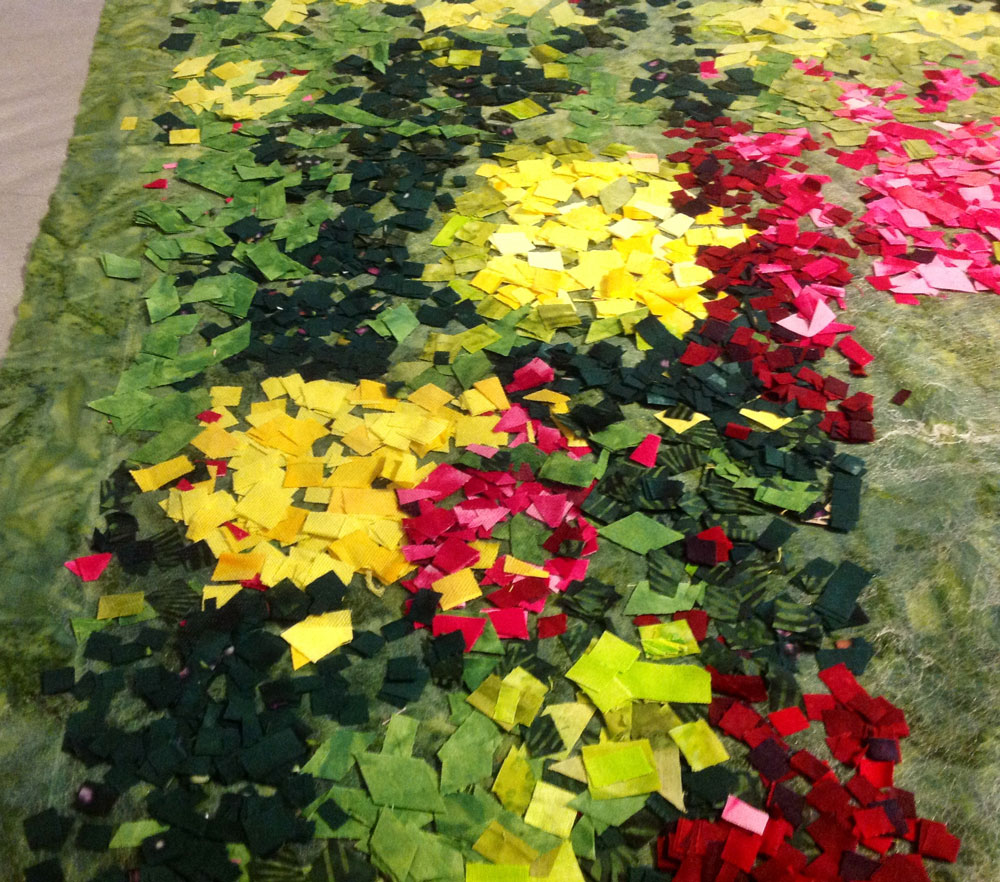
I really didn't know where to start, I had Googled the technique but had not found anything that I though would be helpful.  Soooooo, I just plunged right in.  I had a wonderful piece of green variegated green batik that went from light to dark.  I placed it on my work table and began applying pieces of color to the general area of color in the photograph.  So far I'm happy.


I'm still happy in fact I'm loving this. It''s been too long since I've been creating.

But, all of a sudden I begin to wonder how am I going to get this piece from the table to the sewing machine? There is no glue, no fuse, nothing to hold it down. I do know that I should place tulle over the finished image and pin but that will never be enough.

I called my friend, Ann and asked if she had any books on this technique. She had Confetti Naturescpes by Noriko Endo.  It is a beautiful book, as is her work, but it doesn't really help me with my dilemma. Here I go again.

Noriko places her confetti on batting which would hold the fabric a little but I want to use the green batik. I have thought of spraying with 505 and that would help a little. Any suggestions out there?
This post is linked to www.ninamariesayre.blogspot.com